- Blog
The Devil’s Staircase on the Tongariro Crossing: Everything You Need to Know
If you’ve researched the Tongariro Alpine Crossing, you’ve almost certainly heard about the Devil’s Staircase.
The nickname sounds intimidating, but the reality is quite different: it’s a steady, stepped climb that most hikers manage comfortably with a sensible pace and a few short breathers.
Here’s a clear, practical guide so you know exactly what to expect.
Where is the Devil’s Staircase on the track?
The Devil’s Staircase sits in the second of 6 main sections of the Tongariro Crossing, between Soda Springs and South Crater. Starting from the Mangatepōpō road end, you’ll reach it after the gentler valley boardwalks. This is the point where the route begins to gain real elevation toward the volcanic plateau.
Steps, Distance, elevation & time
- Steps: 370 steps
- Section: Soda Springs → South Crater
- Vertical gain: roughly 200 m (approx. 1,400 m to 1,600 m)
- Distance of the climb: ~1–2 km of sustained stepped/zig-zag ascent
- Typical time: 30–60 minutes at a steady, no-rush pace (allow ~1 hour in most plans)
Why is it called the “Devil’s Staircase”?
It’s not actually an official name – just a nickname for the sustained stair-like ascent that zig-zags up old lava flows toward the crater.
The “devil” part reflects the feeling when you first look up at the climb. Once you’re on it though, the steps are regular and manageable.
Reputation on social media vs. reality
You’ll see the Devil’s Staircase hyped online as the toughest part of the Crossing. It is the first genuinely steep section, so it gets attention—but most walkers with moderate fitness handle it fine.
The key is pacing: short steps, steady breathing, and brief rests. Many hikers call it “hard but fair”—and the views make it memorable for the right reasons.
No need to rush – there are plenty of places to pause
The climb includes built steps and broader patches where you can safely step aside and let others pass. Use them. Take photos, sip water, and enjoy the widening views back over the Mangatepōpō Valley and across to the cones of Tongariro and Ngāuruhoe.
Do what works best for you, but most people find a slow, consistent pace is more efficient (and more enjoyable) than sprint-and-stop bursts.
Don’t feel the pressure to keep walking – you’ll quickly see other people are taking a relaxed approach to this part of the experience.
Practical tips for the Devil’s Staircase
- Pace yourself: treat it like a long staircase, not a sprint. Short steps, steady cadence.
- Micro-breaks help: pause at wider sections; 20–40 seconds is often enough to recover.
- Hydration: sip regularly; there’s no potable water on this section (or anywhere on the track)
- Footwear: grippy, broken-in boots or trail shoes make a real difference on the mixed surfaces.
- Poles (optional): trekking poles can ease calves and knees on the steeper pitches.
- Layering: it’s exposed; add/remove layers as wind and temperature change with height.
- Etiquette: keep right/left as signed, step aside briefly to let faster peeps pass.
What you’ll see from the Devil’s Staircase
As you gain height, the valley opens behind you with sweeping views of the Mangatepōpō flats. On clear days, long-range views can stretch to distant peaks, including Mount Taranaki, which is over 200 kilometres away.
Up close, you’re walking through classic volcanic terrain—old lava, ash, and scoria—on your way to the broad, moon-like floor of South Crater.
What comes after the climb?
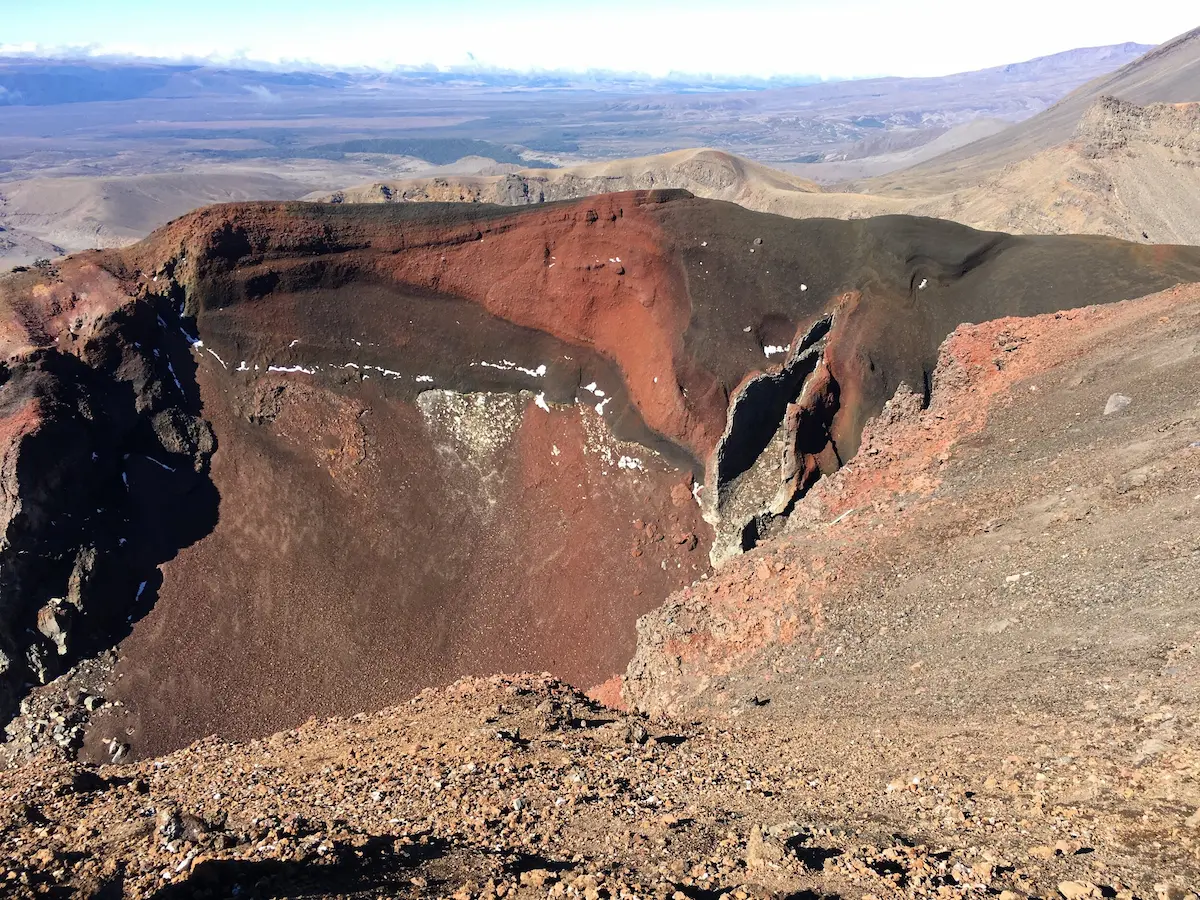
At the top of the Devil’s Staircase you’ll reach South Crater, a comparatively flat section before the next ascent toward Red Crater. Beyond that lie the Emerald Lakes, Blue Lake, and the descent to the Ketetahi end.
Quick takeaways
- It’s manageable for most hikers: steady effort, not technical climbing.
- There’s no rush: frequent short rests are normal and smart.
- Plenty of safe pause points: step aside, catch your breath, enjoy the scenery.
- Plan your energy: the Crossing continues to Red Crater after this – save some legs 🙂